There’s something truly magical about homemade fudge-the way it melts on your tongue, delivering rich, creamy sweetness that store-bought treats rarely match. But beneath its luscious surface lies a delicate balance of ingredients, temperature, and timing, a craft that transforms simple sugar and chocolate into pure bliss. Welcome to “Sweet Secrets: Crafting Perfect Homemade Fudge at Home,” where we unravel the mysteries behind this beloved confection and guide you step-by-step in mastering the art of fudge-making. Whether you’re a curious beginner or a seasoned sweet-tooth, get ready to discover tips, tricks, and techniques that will turn your kitchen into a fudge wonderland.Let’s dive in and unlock the secrets to creating silky, dreamy fudge that’s as rewarding to make as it is to savor.
Sweet Secrets: Crafting Perfect Homemade Fudge at Home begins with the foundation of outstanding ingredients and a precise melting and mixing process. Achieving that luxurious, velvety texture relies on selecting the freshest, highest-quality components and mastering temperature control to avoid sugar crystallization. Whether you’re a seasoned confectioner or a passionate beginner, understanding these nuances will elevate your fudge from good to sublime.
Prep and Cook Time
- Preparation: 15 minutes
- Cooking: 20 minutes
- Cooling and Setting: 3 hours (chilling)
Yield
Approximately 36 bite-sized squares
Difficulty Level
Medium – requires attention to detail and patience for perfect texture
Ingredients
- 2 ½ cups granulated sugar
- ¾ cup unsweetened cocoa powder, sifted
- 1 cup whole milk
- ½ cup unsalted butter, cut into small pieces
- 1 tsp pure vanilla extract
- ¼ tsp salt
- 1 cup sweetened condensed milk
- Optional for garnish: crushed nuts, sea salt flakes, or edible gold leaf
Instructions
- Prepare your pan: line an 8-inch square baking pan with parchment paper, allowing some overhang for easy removal. Set aside.
- Mix dry ingredients: In a heavy-bottomed medium saucepan, whisk together sugar, cocoa powder, and salt to ensure there are no lumps.
- Add wet ingredients: Pour in the whole milk and sweetened condensed milk. Stir gently with a heat-resistant spatula to combine.
- Cook over medium heat: Bring the mixture to a gentle boil, stirring constantly. Use a candy thermometer to monitor the temperature closely.
- Monitor temperature: Allow the fudge to reach exactly 234°F (soft-ball stage) – this is critical to prevent crystallization and create that silky finish.
- Remove from heat: instantly take the saucepan off the stove and add unsalted butter and vanilla extract. Stir gently until well incorporated and smooth.
- Cool down: Pour the fudge mixture into the prepared pan. Let it sit at room temperature for 10 minutes without stirring to start firming.
- Beat to perfect texture: After resting, use a wooden spoon to beat the fudge vigorously for about 5 minutes. This aeration step ensures a creamy consistency and prevents graininess.
- Set in refrigerator: Cover the pan loosely and chill for 3 hours or until fully firm.
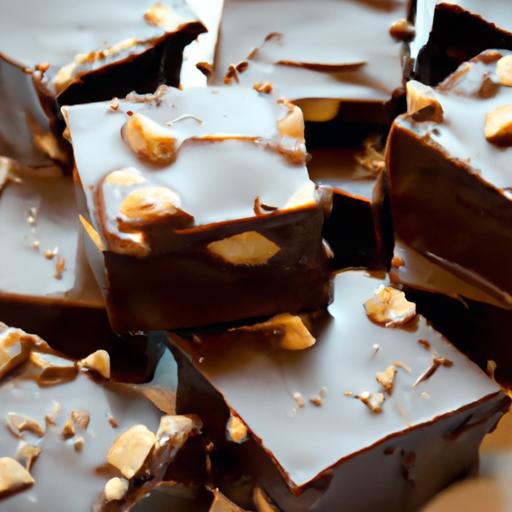
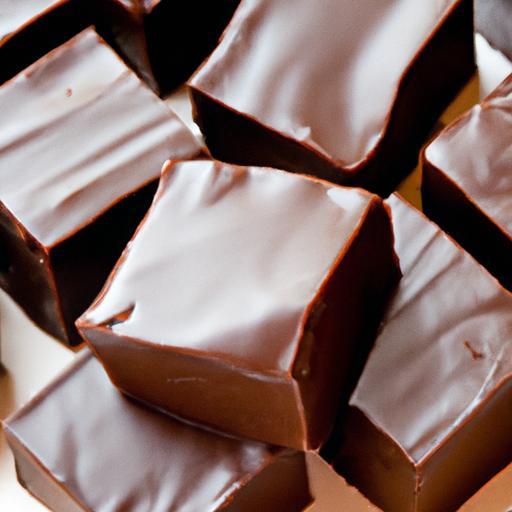
- Slice and garnish: Once set, lift the fudge out using parchment overhang, cut into squares, and decorate with your choice of crushed nuts, sea salt flakes, or edible gold leaf for a stunning presentation.
Chef’s Notes: Tips for Success
- Choosing quality ingredients will vastly influence your fudge’s richness – opt for fresh unsalted butter, premium cocoa powder, and pure vanilla extract.
- Use a reliable candy thermometer to maintain precise temperature control. Overshooting can cause a crumbly texture, while underheating leads to sticky fudge.
- Timing is everything: Stir constantly until the soft-ball stage but avoid premature stirring while boiling to allow proper sugar dissolution.
- Prevent crystallization by ensuring the pot, spatula, and thermometer are very clean - any sugar crystals clinging can cause unwanted texture.
- Flavor variations: Add swirl-ins like peanut butter, espresso powder, or a pinch of cayenne for creative twists. For nuts, try toasted pecans or macadamias.
- Make-ahead success: Stored in an airtight container, fudge retains freshness for up to two weeks at room temperature or a month refrigerated.
Serving Suggestions
Present your Sweet Secrets: Crafting Perfect Homemade Fudge at Home squares on a decorative platter lined with parchment paper or a festive tray for holidays and special occasions. Pair with a rich cup of dark coffee or silky milk for the ultimate indulgence. For an elegant touch, dust with edible cocoa powder or drizzle melted white chocolate atop for contrast. Garnish edges with finely chopped pistachios or crystallized rose petals to create an unforgettable sensory experiance.

| Nutritional Details (per piece) | Calories | Protein | Carbs | Fat |
|---|---|---|---|---|
| One 1-inch square | 110 | 1g | 14g | 6g |
For additional inspiration on desserts, explore our homemade dessert recipes. To deepen your understanding of sugar crystallization science, visit Candy USA’s sugar science page.
Q&A
Q&A: Sweet secrets - Crafting Perfect Homemade Fudge at Home
Q1: What makes homemade fudge taste different from store-bought fudge?
A1: Homemade fudge bursts with freshness and personality. Unlike mass-produced varieties that often rely on preservatives and artificial flavors, homemade fudge lets you control every ingredient. This means richer flavors, smoother texture, and the freedom to experiment with unique add-ins like espresso, sea salt, or chili flakes for that unexpected kick.Q2: What are the essential ingredients for classic homemade fudge?
A2: At its core, classic fudge calls for simple staples: sugar, butter, milk or cream, and chocolate (either cocoa powder or melted chocolate chips). Many recipes also include a touch of vanilla for warmth and a pinch of salt to balance the sweetness.The magic lies in how these ingredients marry through precise temperature control and timing.
Q3: Why is temperature control crucial in fudge making?
A3: Temperature is the secret dance your fudge must master. Cooking the sugar mixture to the “soft ball stage” (around 234°F to 240°F or 112°C to 116°C) ensures the perfect crystal structure-giving fudge its signature smooth,creamy bite. too low, and your fudge will be grainy; too high, and it turns hard and brittle. A trusty candy thermometer is your best kitchen companion here.Q4: How can I prevent grainy fudge?
A4: Graininess is the enemy of silky fudge. To avoid it, dissolve all the sugar completely before boiling, avoid stirring once boiling starts, and let the mixture cool undisturbed to about 110°F (43°C) before beating.this cooling step helps sugar crystals form evenly, resulting in that luscious, melt-in-your-mouth texture.
Q5: Can I customize my fudge with flavors or add-ins?
A5: Absolutely! That’s where homemade fudge shines. Mix in nuts, dried fruits, swirls of caramel or peanut butter, or even fresh herbs like rosemary for a gourmet twist.Flavor extracts such as mint, almond, or bourbon add subtle layers while spices like cinnamon or cayenne awaken the senses. Just fold them in once the fudge starts thickening but isn’t fully set.
Q6: how long does homemade fudge keep, and how should I store it?
A6: When wrapped tightly in wax paper or foil and kept in an airtight container, homemade fudge stays fresh for about 1 to 2 weeks at room temperature. For longer storage, refrigerate it for up to a month or freeze it wrapped well for 2 to 3 months. Always bring frozen fudge back to room temp before serving for best texture.
Q7: What’s the best way to cut fudge cleanly?
A7: A hot, dry knife is your ally! Heat your knife blade by dipping it in hot water and drying it thoroughly before slicing. This prevents sticking and gives you smooth, neat edges. Wiping the knife clean and reheating between cuts makes the process even easier.
Q8: Any tips for first-timers trying fudge at home?
A8: Patience and preparation are key! Read through your recipe completely before starting, gather all ingredients and tools, and resist the urge to rush temperature or mixing times. Don’t be discouraged if your first batch isn’t perfect - fudge is a forgiving canvas for creativity, and every batch teaches you a little more about the sweet science behind it.
Unlock the sweet secrets in your kitchen and craft fudge that’s not just candy but an experience – rich, creamy, and made with love.
In Summary
As the final swirl settles and your homemade fudge sets into a silky,rich marvel,you’ve not only created a delightful treat but also unlocked the sweet secrets that transform simple ingredients into irresistible joy. Crafting perfect fudge at home is more than a recipe-it’s an art of patience, precision, and a touch of love. So,armed with your newfound knowledge and a kitchen full of delicious possibilities,go ahead and share your sugary masterpiece. After all, the sweetest pleasures are best when made with your own hands.